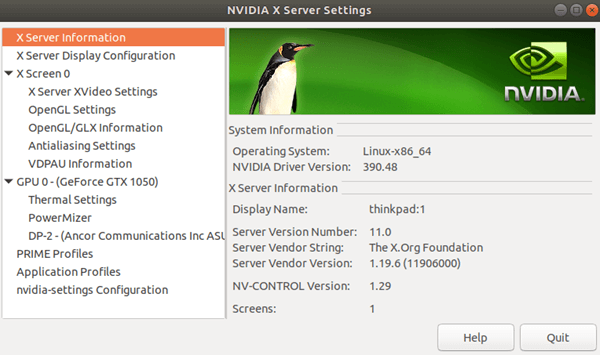
This tutorial shows how to install Nvidia drivers on Ubuntu 18.04 LTS using the most recommended standard Ubuntu Repository method. We have also included a solution for the common stuck error when trying to install Nvidia drivers for Ubuntu 18.04 this way.
Keeping your Ubuntu 18.04 Nvidia drivers updated ensures your graphic card runs correctly and smoothly. The periodic graphic drivers releases include bug fixes, new features and performance improvements for your graphic card to work with the latest software and hardware. Here’s how to install latest Nvidia drivers for Ubuntu 18.04 LTS via command line.

Command lines to Install Nvidia Drivers on Ubuntu 18.04
This method to install Nvidia drivers on Ubuntu 18.04 by using Ubuntu repository is the easiest to execute and the most recommended way to update your Nvidia graphic drivers to the latest and most compatible version for your Ubuntu version. Follow the steps below to do so.
Firstly, open terminal and enter the following command line for Ubuntu to automatically detect the brand and model of your currently in-use graphic card, and suggest you with the recommended drivers.
ubuntu-drivers devices
Entering this command line will result in something like below (example).
== /sys/devices/pci0000:00/0000:00:01.0/0000:01:00.0 ==
modalias : pci:v000012ZGc00001285sv00005238rt0000323Cca02sc00000
vendor   : NVIDIA Corporation
model    : GK102 [GeForce GTX 1080 Ti]
driver   : nvidia-384 - distro non-free
driver   : nvidia-387 - distro non-free
driver   : nvidia-390 - distro non-free recommended
driver   : xserver-xorg-video-nouveau - distro free builtin
As you can see, there are a list of suggested drivers for your video card with one marked as recommended. In my case here, Ubuntu 18.04 recommends to install the nvidia-390 Nvidia drivers.
If you agree with the recommended driver, enter the following command line to install it automatically.
sudo ubuntu-drivers autoinstall
The autoinstall parameter will tell Ubuntu to automatically install the driver as recommended by it from the Ubuntu repository. After successfully installed, reboot your Ubuntu system for the driver changes to take effect.
Alternatively, if you prefer to install other version of Nvidia drivers other than the recommended one, enter the following command line to install your desired driver package (for example, if you want to install nvidia-387 instead).
sudo apt install nvidia-387
Ubuntu 18.04 Nvidia drivers not working problem
This Ubuntu 18.04 Nvidia drivers not working issue is what I have experienced myself personally when I execute the “sudo ubuntu-drivers autoinstall” command line. It ended up stuck at the following lines.
Generating a new Secure Boot signing key:
Generating a 2048 bit RSA private key
writing new private key to '/var/lib/shim-signed/mok/MOK.priv'
It looks like Ubuntu is waiting for a password for the generated private key. But, there is no prompt for password entering. So, what I did was I blindly enter a password twice and the driver installation continues.
Another solution would be to temporarily disable the secure boot option in your BIOS and retry install the driver. Let us know if this Ubuntu 18.04 Nvidia drivers installation method works for you.